Specialized securing plans for RV water bottle racks, offering professional water storage equipment configuration advice for RV travelers—covering space utilization, driving safety, and daily convenience.
RV travel has grown hugely popular in recent years, combining accommodation and transportation to let people explore freely. However, RV space is extremely limited, and figuring out how to arrange drinking water facilities properly in this compact space is a must-solve problem for every RV enthusiast.
Unique Water Needs for RV Living
RV environments have distinct traits that shape their water storage requirements:
- Limited Space: Every inch of space counts and needs to be used efficiently
- On-the-Move Use: Items shift and shake while driving, so secure fastening is mandatory
- Self-Sufficiency: Must carry enough drinking water for extended trips
- Multi-Scene Use: Used for camping access, and stored securely during transit
Types of RV Water Bottle Racks
Permanent Fixed Mount
- Choose a fixed spot inside the RV and install the water bottle rack permanently
- Pros: Maximum stability, no movement while driving
- Cons: Takes up fixed space, low flexibility
Removable & Foldable
- Can be disassembled and stored when not in use, installed quickly when needed
- Pros: Highly flexible, no permanent space occupation
- Cons: Requires quick installation and fastening each use
Multi-Functional Integrated
- Built into existing RV furniture or cabinetry for a seamless look
- Pros: Sleek and tidy, maximizes space efficiency
- Cons: Higher customization and renovation costs
Detailed Securing Methods
Method 1: L-Bracket Mounting
Use metal L-brackets to fasten the bottom of the water bottle rack to the RV floor or cabinet frame. This is the most common and simple solution.
- Mark the installation spot, avoiding wheel wells, wiring, and plumbing lines
- Mark the bracket mounting holes accurately
- Secure the brackets with self-tapping screws or bolts
- Place the water bottle rack firmly into the bracket frame
Method 2: Strap Securing
Use heavy-duty nylon or rubber straps to tie the water bottle rack to stable fixed points in the RV.
- Locate sturdy fixed points (seat frames, cabinet frameworks, or floor anchors)
- Thread the straps through the bottom of the water bottle rack
- Pull the straps tight and lock them securely
- Double-check stability, and re-tighten before hitting the road
Method 3: Custom Cabinet Niche
Build a dedicated water bottle compartment inside existing cabinets or storage spaces, using the cabinet structure to hold the rack in place.
- Measure the exact dimensions of your water jug and bottle rack
- Reserve enough clearance space inside the cabinet
- Install limit blocks to prevent side-to-side shaking
- Add foam or rubber padding to reduce rattling noise during drives
Recommended Installation Locations
Ideal Spots
- Inside cabinetry: Hidden, tidy, and doesn’t take up living space
- Bathroom corner: Usually waterproof, easy to clean up small spills
- Under-bed storage: Uses unused under-bed space efficiently
Spots to Avoid
- Near the driver’s cockpit: Risk of becoming a hazard during sudden stops
- Next to propane tanks: Serious safety hazard
- Direct sunlight: Raises water temperature and ruins taste
Key Driving Safety Tips
- Always confirm the water bottle rack is tightly secured before driving
- Avoid traveling with a full water jug—leave space to reduce sloshing and weight shift
- Check fasteners and mounts for looseness before long road trips
- Prepare backup straps or mounts as an emergency solution
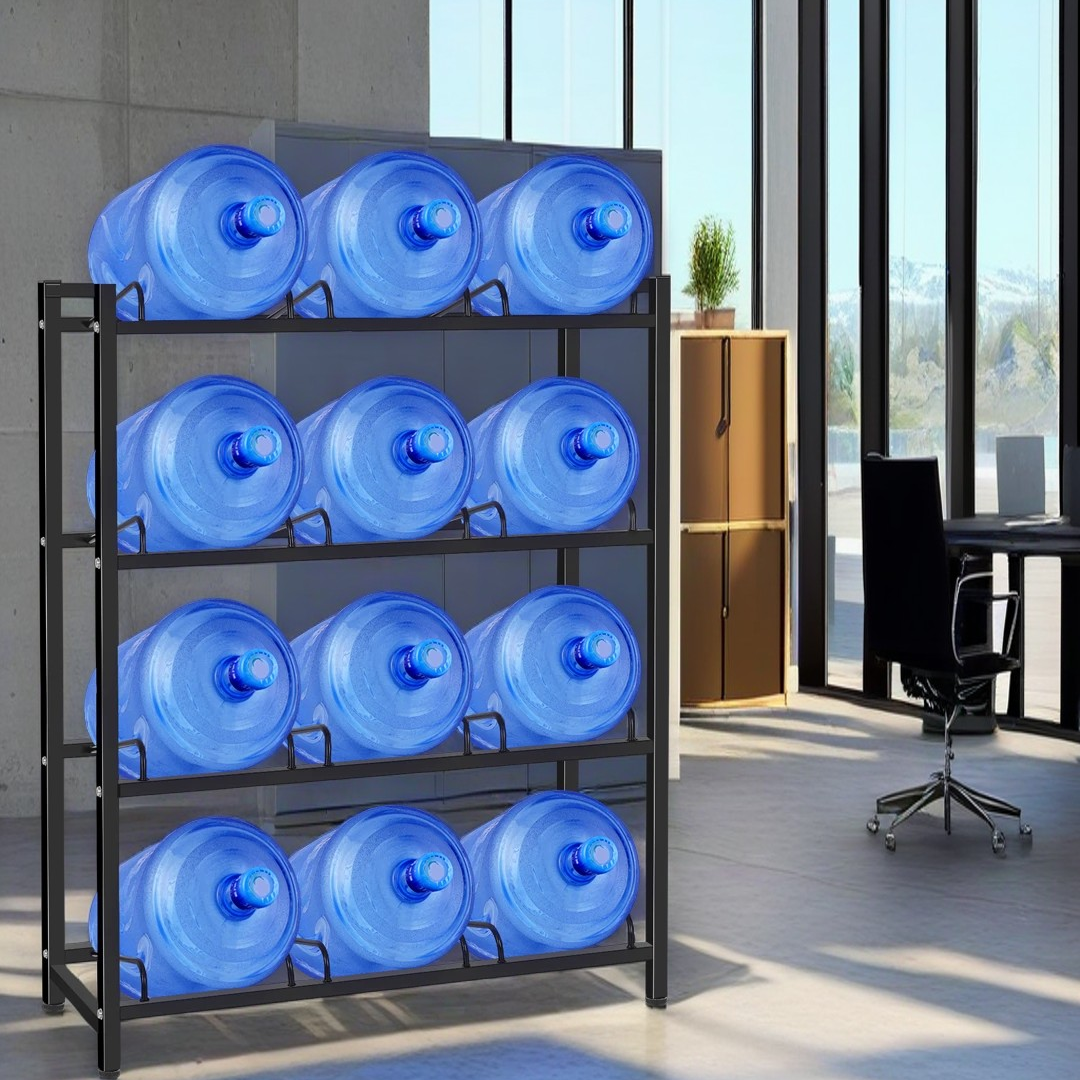
HomStora Product Compatibility
The HomStora standard 5-gallon water bottle rack features a simple structure and moderate weight, making it easy to modify and secure inside an RV. Its stainless steel build is durable, easy to clean, and perfectly suited for the rugged RV environment.