In recent years, people have become far more focused on emergency preparedness. Whether it’s extreme weather, unexpected disruptions, or other unforeseen situations, being ready at home is always a smart choice. And among all emergency supplies, water is the most basic—and most critical—item to have on hand.
Emergency management agencies recommend that every household store at least 72 hours of drinking water. At about 4 liters per person per day, a family of three needs roughly 36 liters of water. Figuring out how to store this much water, where to keep it, and how to keep it safe requires careful planning ahead of time.
Why the Water Jug + Storage Rack Combo Works Best
There are plenty of emergency water storage options on the market, but in my experience, a 5-gallon water jug paired with a dedicated water bottle storage rack is the most practical solution by far.
Perfect Capacity for Home Use
A 5-gallon jug holds about 19 liters of water—stocking 2 to 3 of these jugs meets a typical family’s basic emergency needs without taking up too much space. It’s a balanced amount: not so little that you run out quickly, and not so much that it clutters your home.
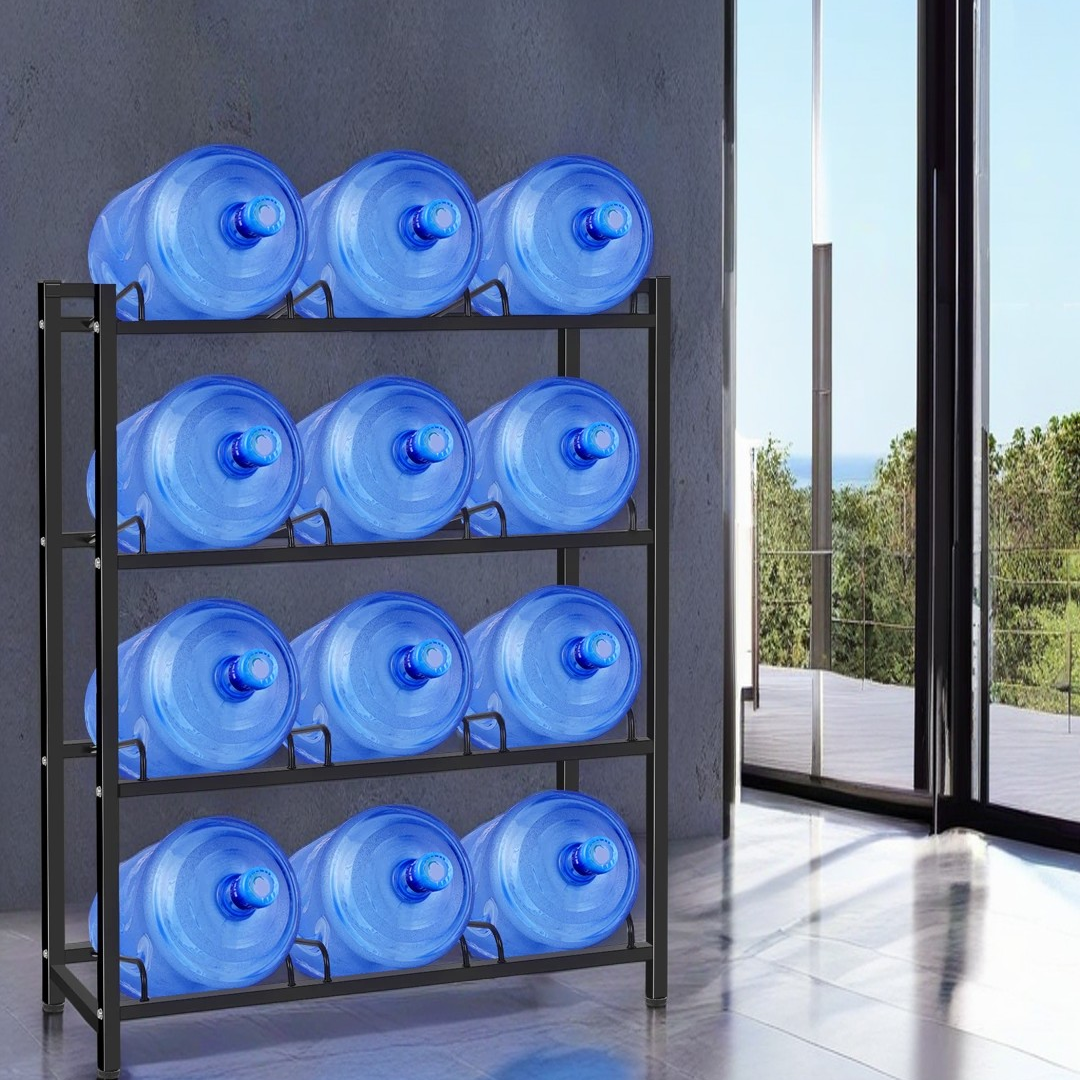
Easy, Neat Storage
A dedicated water bottle rack keeps jugs elevated off the floor, which keeps water hygienic and the setup stable. You can tuck the rack in a corner of a storage room, balcony, or garage—out of the way of your main living spaces, but still accessible when needed.
Simple Water Rotation
Bulk stored water has a shelf life, so regular rotation is a must. With a rack, swapping out old and new water is effortless—no more putting it off because jugs are too heavy or hard to move. This ensures your emergency supply stays fresh and safe to drink.
My Family’s Emergency Water Storage Setup
Here’s the simple, effective system I use at home to stay prepared:
- Storage Quantity: 3 × 5-gallon jugs = 15 gallons (roughly 57 liters) — enough clean water for a family of three to last 4–5 days for basic drinking and hygiene needs.
- Storage Spot: A corner of the garage, which is well-ventilated, dry, and out of direct sunlight. I use a double-tier rack to hold two jugs for regular access and one as a backup.
- Rotation System: I check the supply every three months. The oldest jug is used for watering plants or cleaning, and I refill it with fresh water. This eliminates waste and keeps the emergency supply in top condition.
Key Tips for Building Your Home Water Storage System
If you’re ready to set up your own emergency water storage, keep these critical rules in mind for safety and practicality:
Use Food-Grade, Dedicated Containers
Never reuse jugs that held chemicals, soap, or other non-food items for drinking water. Invest in dedicated food-grade water jugs with tight, secure seals to prevent contamination, evaporation, and pest intrusion.
Maintain Water Quality
Tap water is safe to store as-is, but if you’re concerned about quality, add water purification tablets or boil the water before storing it. Always wash and air-dry jugs thoroughly before filling them with fresh water.
Choose the Right Storage Location
Keep jugs away from direct sunlight and household chemicals, and stick to cool, dry areas. Most importantly, make sure the storage spot is easy to reach in an emergency—you don’t want to struggle to access your water when time matters.
This Setup Isn’t Just for Emergencies
The best surprise after setting up my emergency water system? It makes daily life far more convenient. When the water gets shut off for maintenance or repairs, while others rush out to buy bottled water, my family has clean water ready to go. That peace of mind is a true upgrade to quality of life.
Final Thought: Preparedness Is Responsibility
Emergency preparedness isn’t overthinking—it’s taking care of yourself and your family. This simple water storage setup is low-cost, but it delivers tangible security and calm. And the water bottle rack is the unsung hero here: it turns a complicated preparedness task into something easy, manageable, and sustainable for every household.