Meta Description: Step-by-step illustrated guide for water bottle rack installation, from unboxing inspection and assembly to debugging—teach you to complete installation by hand without professional tools.
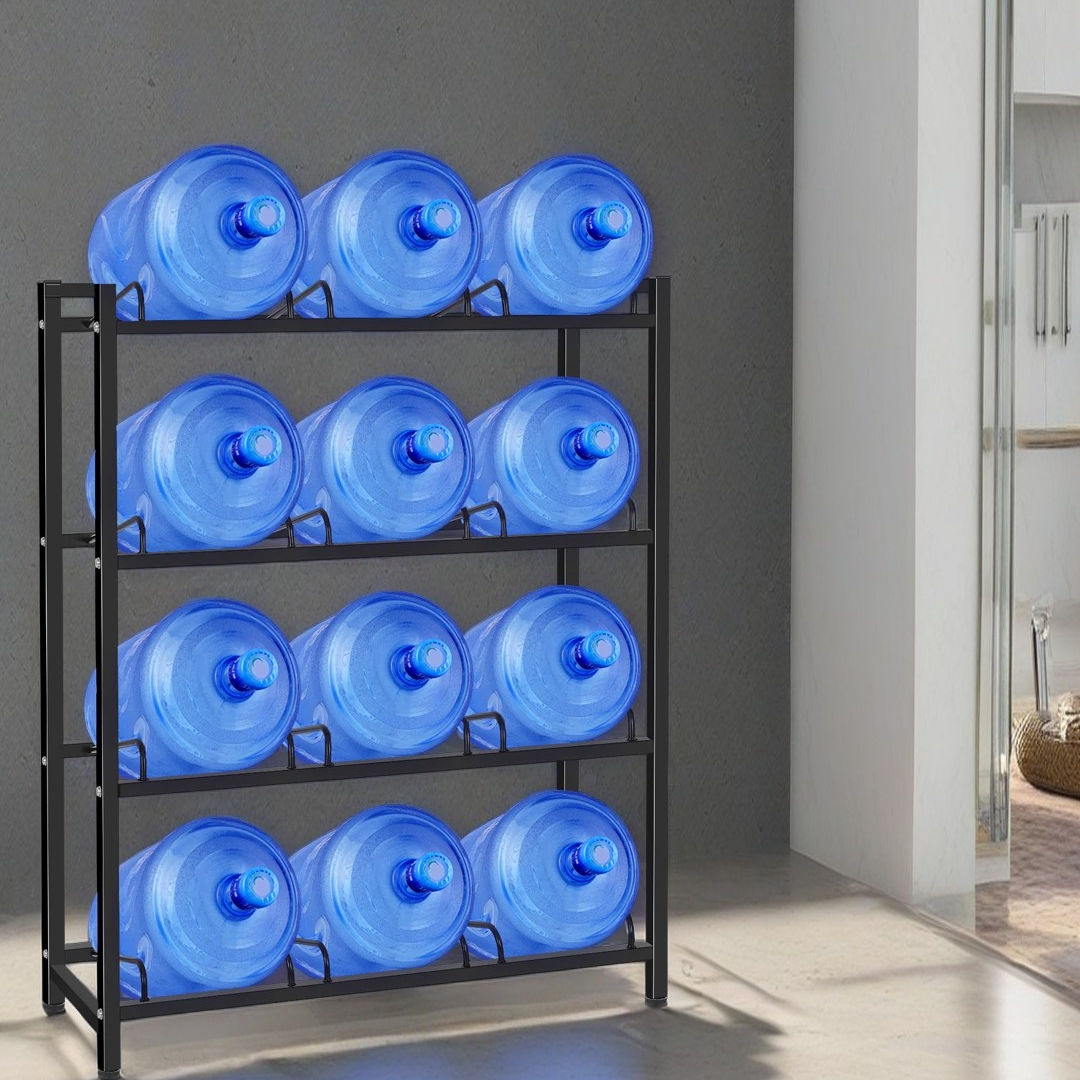
Most water bottle racks require simple assembly. Proper installation ensures the product’s stability and service life. This article provides a detailed installation guide to help you finish it easily.
Pre-Installation Preparation
Tool Preparation
- Cross screwdriver (usually included with the product)
- Hex key (if needed)
- Clean cloth
Site Preparation
- Flat floor or tabletop
- Adequate lighting
- Enough operating space
Checklist
- Verify that the product model matches the order
- Check if all parts are complete
- Check for transportation damage
- Read the instruction manual
Installation Steps
Step 1: Assemble the Base (5 Minutes)
- Lay the base bracket flat on the ground
- Align the four legs with the holes on the base
- Secure the legs with screws
- Tighten all screws to ensure sturdiness
Step 2: Install the Main Bracket (3 Minutes)
- Insert the main bracket column into the center of the base
- Align with the connection holes
- Secure with screws or buckles
- Check if it is vertical
Step 3: Install the Top Tray (2 Minutes)
- Align the top tray with the top of the bracket
- Secure with screws or buckles
- Ensure it is level
Step 4: Install Accessories (If Applicable)
- Non-slip pads: Stick them to the bottom of the legs
- Dust cover: Place it on the top
- Install other accessories according to the instructions
Post-Installation Inspection
Stability Check
- Gently push the product to check for wobbling
- Check if all connections are tight
- Confirm that the bottom non-slip pads are installed
Function Check
- Place an empty water jug to check stability
- Test if it is easy to take and place
- Check for any abnormal noise
Safety Check
- Confirm there are no sharp edges or corners
- Confirm there are no exposed screws
- Check if the surface treatment is intact
Common Problem Solutions
Problem: Bracket Tilted
Solution: Adjust the bottom foot pads or use shims to level it
Problem: Screws Won’t Tighten
Solution: Check if it is aligned with the holes; use shims if necessary
Problem: Scratches on Parts
Solution: Minor scratches can be treated with metal polish; contact after-sales service for severe damage
Installation Video Resources
HomStora provides a detailed installation video tutorial. Scan the QR code or visit the official website to watch it.